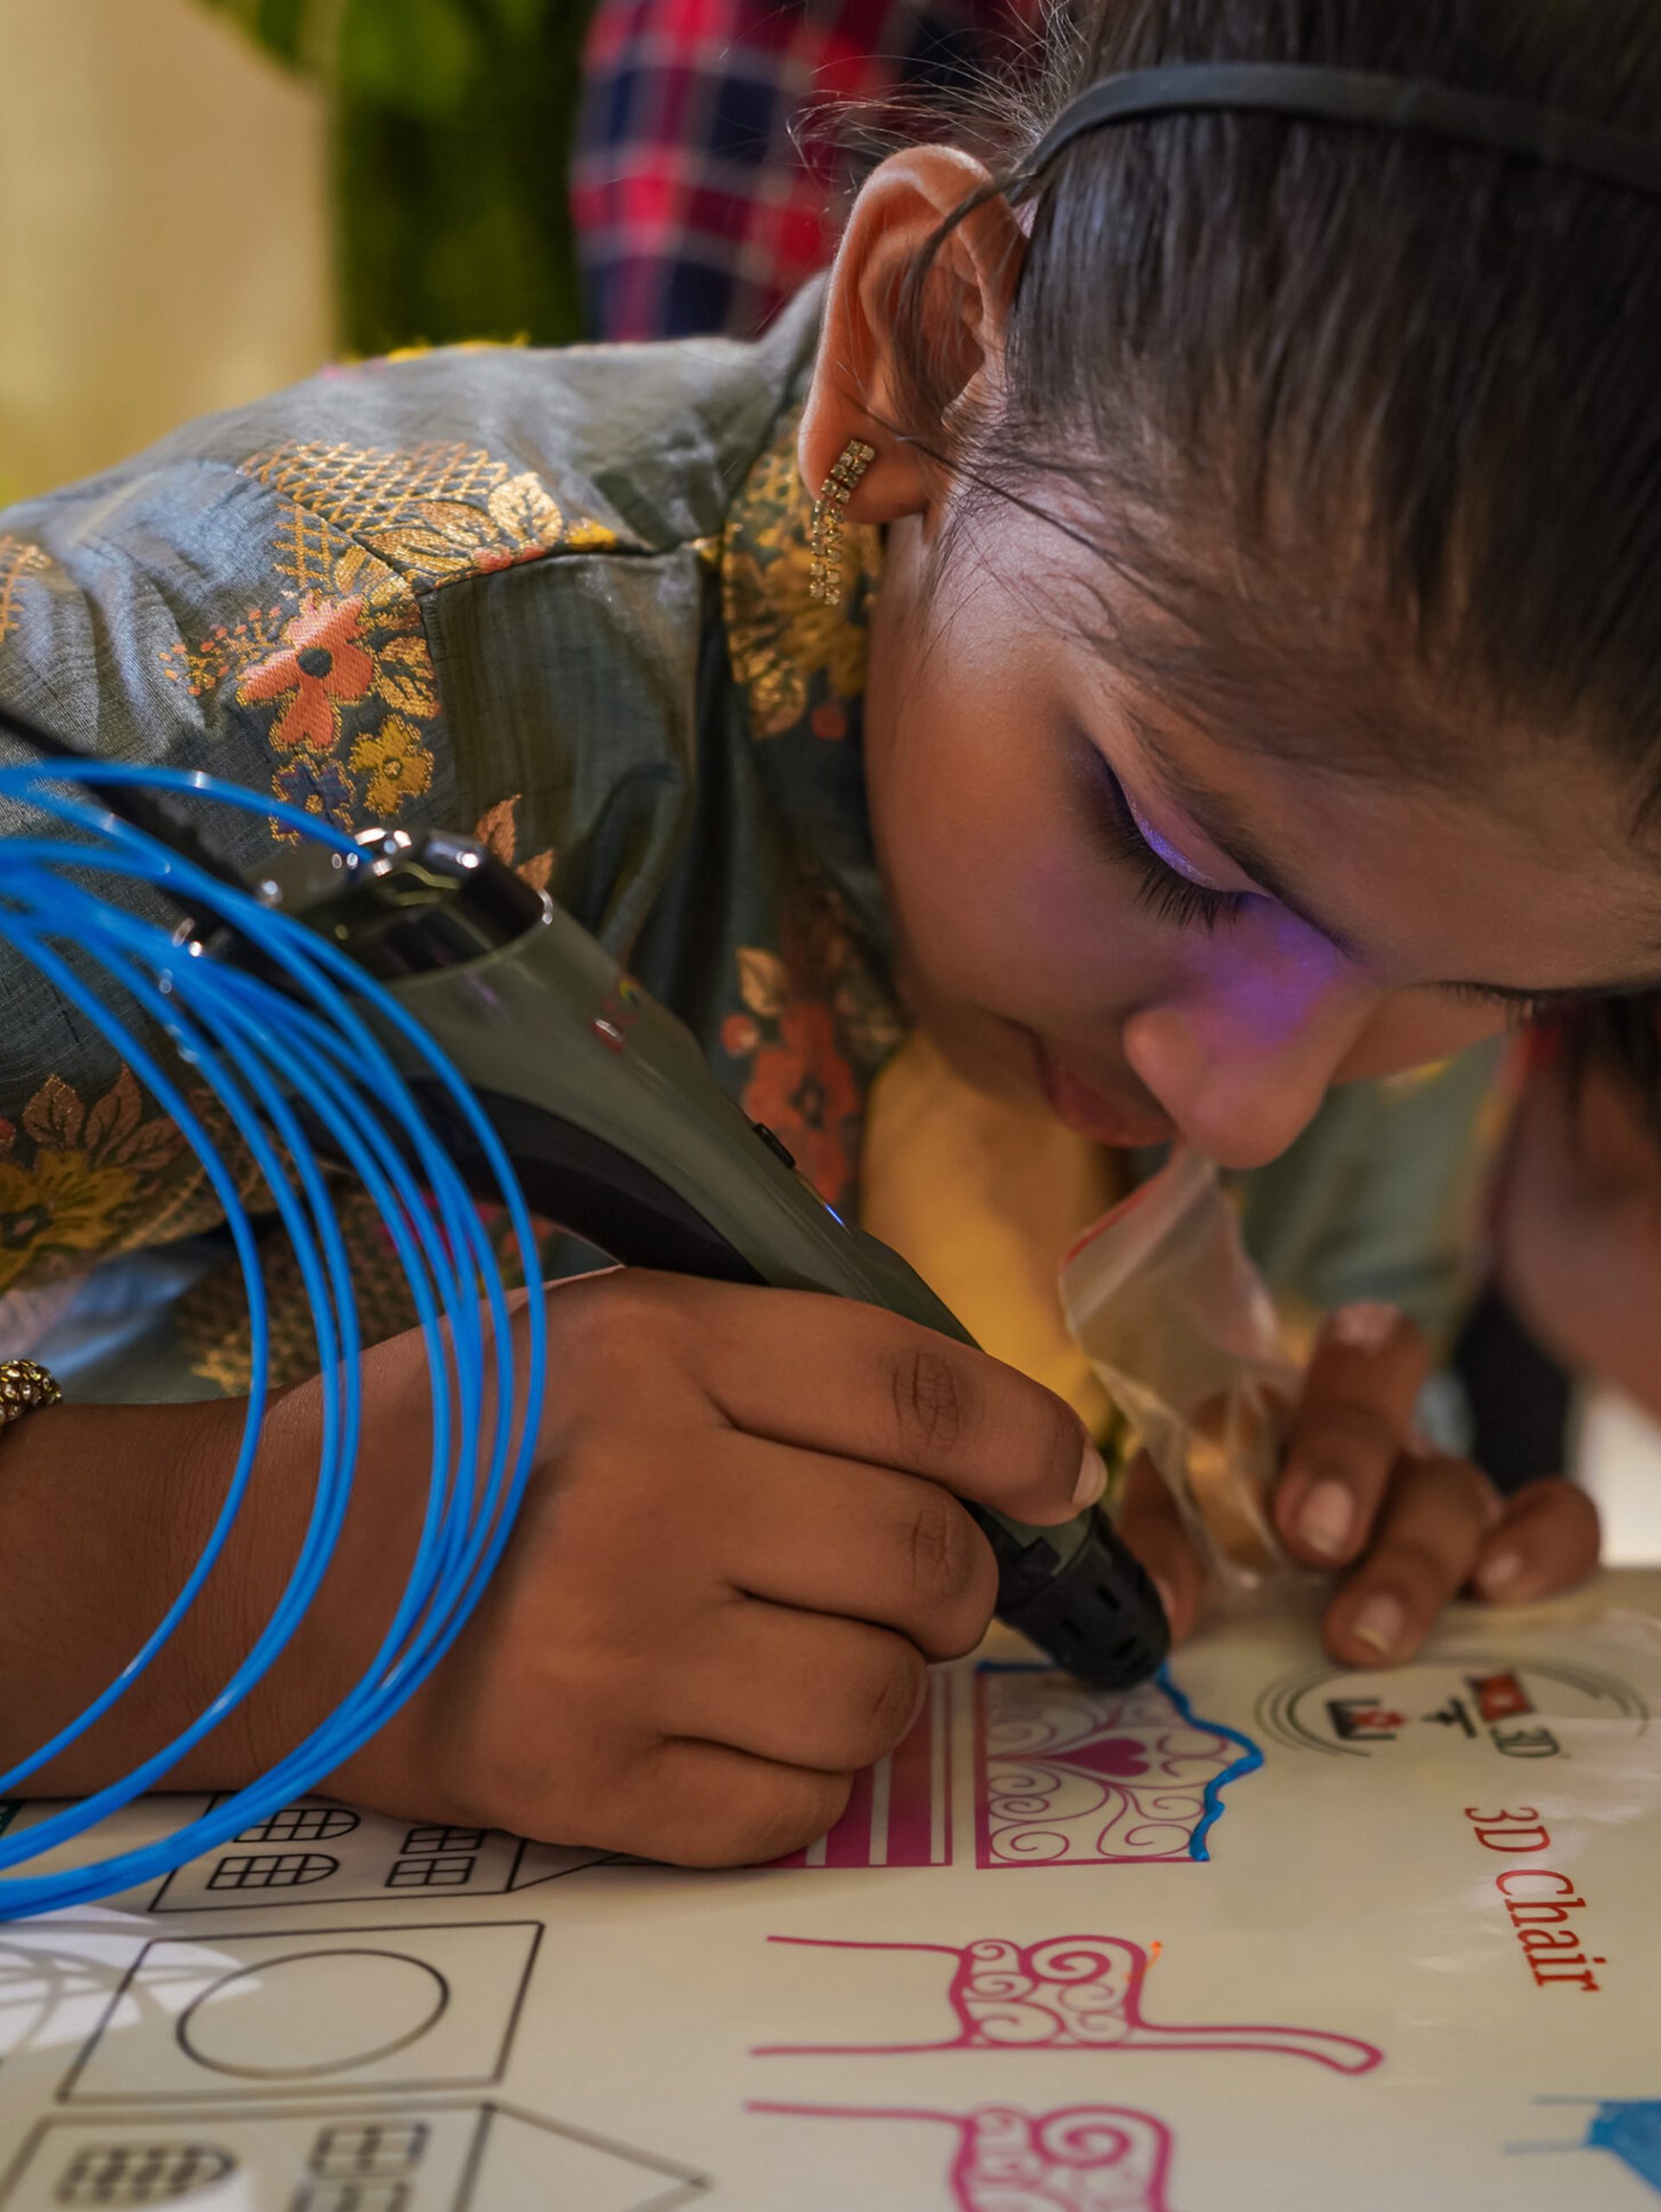
How to use a 3D Printing Pen?
Bringing imagination to reality is something we all crave for, don’t we? In fact, modern technology has advanced so much that now we get even the slightest mode of technology easily accessible to us.
One such mode of technology is 3D, a three-dimensional process of getting things in 3D. So gone are those days where we could imagine and do nothing. Now we think and we get it.
On that note, the 3D pen stands as one of the most exciting and accessible innovations for creatives of all ages. This tool lets one create and draw in 3D using plastic filament- it hardens in a matter of seconds to form solid structures. Detailed sculptures, prototypes, or random designs, you name it. And 3D pens would start working on it.
This blog takes you step-by-step through the process of using a 3D pen and helps you get started on your creative journey.

How to Use a 3D Printing Pen:
A Creative Guide to Bringing Your Designs to Life
As mentioned, a 3D pen is a handheld device that allows you to draw 3D objects by extruding heated plastic filament (PLA or ABS) which cools and solidifies quickly as you move the pen. The surfaces can be flat or in mid-air layer by layer making 3D shapes how your imagination allows.
Requirements
Before trying our hands on the 3D pen, we must have the following ready:
- 3D Pen along with its power adaptor and buttons for extrusion, temperature and speed control.
- Plastic filament, either PLA or ABS.
- A paper, silicone mat or glass.
- Filament cutter to make the drawing clean.
How to Use a 3D Pen for Beginners?
Once we have all things ready, let’s get started.
1. Set up the 3D Pen
First we insert the power cord into the pen and plug it.
2. Insert the filament
Choose a filament color and type. Insert one end into the filament slot at the back of the pen.
3. Heat the pen
Turn on the pen and there will be an indicator light showing when it’s ready to use.
4. Adjust the temperature and speed
We can adjust the temperature based on the filament. Some need a lower temperature like 180-220C while others work better at higher ones ranging from 220-250C.
Extrusion speed also works the similar way with which you can control how fast or slow the filaments when heated goes out of the pen.
5. Start with your art
We can adjust the temperature based on the filament. Some need a lower temperature like 180-220C while others work better at higher ones ranging from 220-250C.
Extrusion speed also works the similar way with which you can control how fast or slow the filaments when heated goes out of the pen.
6. Finish
Turn the pen off and let it cool. And press the retract button to bring the excess filament out of them or you can also use the filament cutter to cut it.
And you are done.
Conclusion
3D pens are a recent trend now and it really comes in handy. They allow you to create decorative objects, jewelry, toys, educational tools among various other things. Using a 3D pen opens our doors to endless creative possibilities. So, whether it’s a keychain, miniatures or
Using a 3D pen opens up a world of creative possibilities, whether you’re crafting for fun or looking to bring a more serious project to life. The process is straightforward, and with a little practice, you’ll soon be able to design intricate and beautiful 3D creations.
So, whether you’re crafting a custom keychain, building a miniature model, or even a dress for that matter, wait no longer and grab yourself one for you or your kid this children’s day. Happy drawing!
